How to Move Windows to SSD Like a Pro: A Step by Step Guide to Speeding Up Your PC Without Reinstalling Everything

Introduction
Is your computer becoming sluggish and taking a long time to start up or launch applications? You’re not alone. One of the easiest and most effective upgrades you can make is moving your Windows operating system from a traditional hard drive (HDD) to a solid-state drive (SSD). But if reinstalling Windows and losing data sounds intimidating, don’t worry. This guide shows you how to move Windows to SSD like a pro without reinstalling anything or starting from scratch.
Whether you’re a seasoned techie or a casual user, this ultimate step-by-step guide walks you through the process using free tools and safe methods that ensure a smooth migration. Learn how to clone your system, adjust BIOS settings, and optimize your SSD for peak performance. Say goodbye to sluggish startups and hello to lightning-fast load times—all while keeping your files, apps, and settings exactly where you left them.
The Ultimate Guide to How to Move Windows to SSD ?
| Step | Description |
|---|---|
| Prepare Your SSD | Ensure your SSD is properly connected to your computer (either internally or via a USB enclosure) and recognized by the BIOS/UEFI. |
| Backup Your Data | Back up all important data to an external drive or cloud storage to prevent data loss during the migration process. |
| Choose Cloning Software | Select reliable disk cloning software (e.g., Macrium Reflect, Clonezilla, EaseUS Todo Backup) for the migration. |
| Install Cloning Software | Download and install the chosen cloning software on your computer. |
| Launch Cloning Software | Open the cloning software and select the “Clone Disk” option. |
| Select Source Disk | Choose your current Windows installation drive (usually the C: drive) as the source disk. |
| Select Destination Disk | Select your SSD as the destination disk for cloning. |
| Adjust Partition Size | Adjust partition sizes to fit your SSD. Ensure the system partition is large enough for Windows and essential programs. |
| Start Cloning Process | Initiate the cloning process and wait for it to complete. This may take a few hours depending on the amount of data. |
| Change Boot Order in BIOS/UEFI | Restart your computer and enter the BIOS/UEFI settings by pressing Del, F2, or F12 (key varies by manufacturer). |
| Set SSD as First Boot Device | Change the boot order to prioritize your SSD as the first boot device. |
| Save BIOS/UEFI Settings | Save the changes and exit the BIOS/UEFI settings. |
| Boot from SSD | Your computer should now boot from the SSD. Verify that Windows loads correctly and all your programs are functioning. |
| Verify System Performance | Check the boot time and overall system performance to ensure the migration was successful. |
| Update Drivers | Update drivers for your SSD and other hardware components to optimize performance and compatibility. |
| Optimize SSD Settings | Enable TRIM support and AHCI mode in Windows for better SSD performance. |
| Disable Disk Defragmentation | Disable disk defragmentation for your SSD, as it’s not necessary and can reduce its lifespan. |
How to Move Windows to SSD?
If your PC takes several minutes to boot or open programs, it’s likely due to the limitations of your HDD. SSDs deliver ultra-fast data transfer speeds, significantly enhancing startup times, program loading, and overall system efficiency.
Migrating your Windows operating system to an SSD gives your PC a new lease on life—without needing a complete reinstall.
What You’ll Need Before Starting
Before starting the migration process, ensure you have everything required:
- A new SSD with sufficient storage capacity to hold your existing Windows installation.
- A SATA-to-USB adapter or an extra SATA connection for desktop users.
- Software for disk cloning, such as Macrium Reflect Free, EaseUS Todo Backup, or Clonezilla.
- A backup of your essential files (always play it safe)
- Access to BIOS/UEFI settings for boot drive configuration
These methods and resources help facilitate a smooth transfer while minimizing potential issues.
Step 1: Clean Up Your Current System
Migrating your operating system includes all the files on the current partition. To save time and SSD space, perform a cleanup first:
- Delete unused programs and temporary files.
- Empty the Recycle Bin
- Move large personal files (videos, photos, etc.) to an external drive.
- Use Disk Cleanup or a tool like CCleaner to clear caches and junk files.
The leaner your system, the faster and more efficient the cloning process will be.
Step 2: Install and Connect the SSD
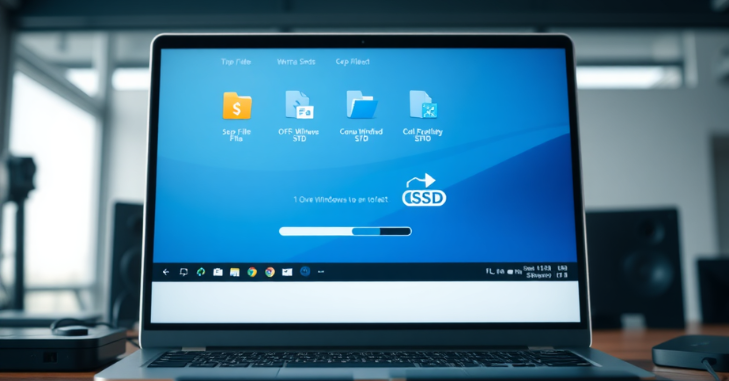
Once your files are sorted, proceed with connecting the SSD physically.
For Desktop PCs:
- Open your case and connect the SSD to a spare SATA port and power cable.
For Laptops:
- Connect the SSD externally using a SATA-to-USB adapter.
After connecting the SSD, your system should recognize it under Disk Management. If not, initialize the SSD using the GPT or MBR partition style (based on your current system configuration).
Step 3: Use Cloning Software to Migrate Windows
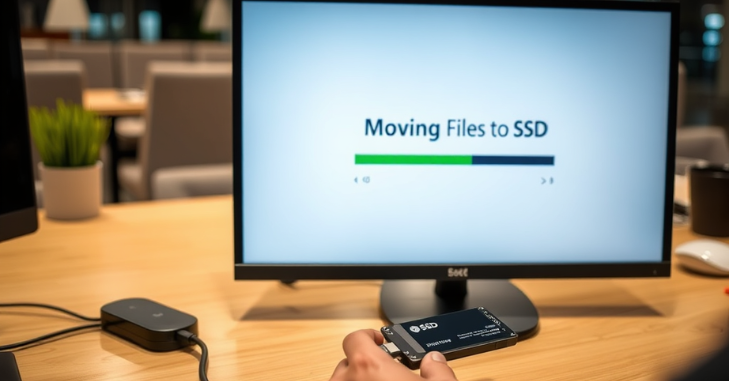
This is the heart of the process. Cloning software allows you to copy your entire OS—including system files, boot records, and applications—onto your SSD without reinstalling Windows.
Recommended Free Tools:
- Macrium Reflect Free
- EaseUS Todo Backup Free
- AOMEI Backupper Standard
Here’s how to use Macrium Reflect (a popular choice):
- Download and install Macrium Reflect.
- Launch the program and select your current OS drive.
- Click “Clone this disk.”
- Select your SSD as the destination disk.
- Transfer the partitions from the source disk to the SSD by dragging them into place.
- Click “Next,” then “Finish,” and begin cloning.
Depending on file size and SSD speed, this may take anywhere from 15 minutes to an hour.
Step 4: Change the Boot Drive in BIOS/UEFI

Once the cloning process is complete, the SSD contains a full, bootable copy of Windows. Next, you’ll need to tell your system to boot from the SSD instead of the old HDD.
Steps:
- Restart your PC and enter the BIOS/UEFI (usually by pressing F2, DEL, or ESC during startup).
- Navigate to the Boot menu.
- Set the SSD as the first boot device.
- Save changes and exit.
Your PC should boot directly from the SSD, much faster than before.
Step 5: Verify and Optimize
After your system boots from the SSD, double-check that everything transferred correctly:
- Open “This PC” and check drive letters.
- Ensure all applications and settings are intact.
- Open Disk Management to confirm that the SSD is configured as the primary boot device.
To optimize SSD performance:
Enable TRIM: Windows 10 and 11 typically enable this by default. You can check with the command.
- A response of 0 means TRIM is enabled.
- Disable Disk Defragmentation (not necessary for SSDs):
- Go to “Defragment and Optimize Drives.”
- Ensure automatic defrag is not enabled for the SSD.
- Check AHCI Mode: This ensures optimal performance. Verify this setting is enabled in BIOS.
What to Do with Your Old HDD After Migration
Once your Windows system is successfully running on the SSD, your old hard drive doesn’t have to go to waste. Many users choose to repurpose it as secondary storage for large files such as videos, photos, games, and backups. Before using it, make sure you format the old drive only after confirming that the SSD boots properly and all your files have transferred successfully.
Keeping the HDD as extra storage can help free up valuable SSD space while still giving you access to less frequently used data. Alternatively, you can turn it into an external drive using a hard drive enclosure, making it a convenient backup solution for important files.
Common Issues and Troubleshooting Tips
Even with careful planning, issues may arise. Here are a few common ones:
- If Windows does not start from the SSD, verify the BIOS boot sequence and confirm that the cloning process included the boot partition.
- SSD not showing in BIOS or Disk Management: Check physical connections or try initializing the SSD manually.
- Activation issues after cloning: If prompted, sign in to your Microsoft account to re-activate Windows using your digital license.
Re-cloning the drive or switching to a different software may help if errors persist.
Conclusion
Transferring Windows to an SSD is a smart way to breathe new life into an older computer. The speed improvements—from faster boot times to seamless multitasking—are game-changing. As this guide has demonstrated, you can move Windows to an SSD without reinstalling your entire system. By using trusted cloning software and following a few careful steps, you preserve your settings, programs, and personal files while enjoying the performance benefits of modern storage technology.
Once you’ve booted successfully from the SSD, optimized the drive, and repurposed your old HDD for storage, your PC will feel brand new. Whether upgrading a laptop or desktop, this process empowers you to take control of your computer’s performance, without the technical headaches. Now that you know how to move Windows to SSD like a pro, the only thing left to do is enjoy a faster, smoother digital experience.
Want to know about ‘Complete Asus Vivo Book F510UA Guide: Specs, Features, Price Breakdown & Easy Upgrade Options‘ Check out our ‘Tech‘ category.
Frequently Asked Questions (FAQs)
Using cloning software to copy your drive’s data, you can transfer Windows to an SSD. This improves speed and performance by moving the operating system to faster storage.
You can move your C drive to a new SSD by cloning it using software like EaseUS or AOMEI Backupper. This ensures all system files and settings are transferred without reinstalling Windows.
To initialize an SSD, open Disk Management, locate the new SSD, and select “Initialize Disk.” Choose MBR or GPT partition style, then create and format a new volume.