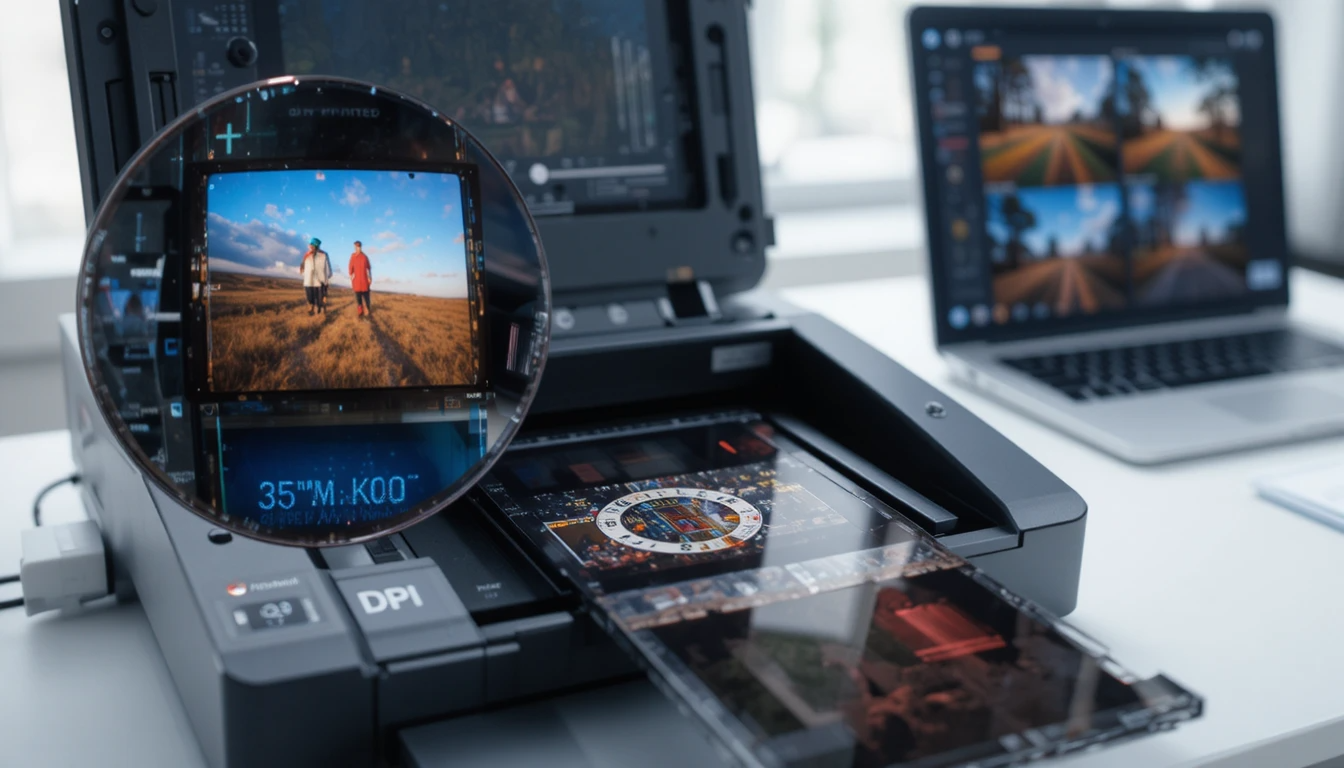
Scanning 35mm slides is more than sticking film into a device and clicking “scan.” The DPI (dots per inch) you select drives how much detail you capture, how large you can print, and how future proof your digital files are.
Choose too low for a DPI, and you lose fine texture, color nuance, and the look of the original film. Choose too high, and you create massive files that may not add real image information.
Today, you’ll learn how to choose the best DPI settings for slide scanning with confidence.
What Is DPI in Slide Scanning?
DPI describes how many individual dots of information a scanner records per linear inch of film. More dots mean more potential detail if the film and scanner optics can support it.
But a few key facts often get overlooked:
- DPI alone doesn’t guarantee quality, as optical resolution matters most.
- High DPI can capture more grain and noise, not just detail.
- Film chemistry, lens sharpness, and focus accuracy affect how much real resolution exists on the slide.
How Much Detail Does 35mm Film Actually Hold?
35mm slide films, like Fujifilm Velvia, Kodak Ektachrome, or Agfa CT100, can resolve high levels of detail under ideal conditions. However:
- Film grains limit measurable resolution.
- Lens quality significantly affects sharpness.
- Scanners must have strong optics to extract detail.
Most professional scanning services and dedicated film scanners effectively resolve useful detail up to approximately 4000 DPI, beyond which increases the capture of more noise than image information. This range aligns with industry practices for high-quality digital preservation.
What Are the Best DPI Settings for 35mm Slides?
The right DPI depends on your goals.
#1 2000 DPI For Everyday Viewing & Efficient Workflow
This DPI setting is best for:
- Screen viewing on the phone, tablet, laptop, or TV.
- Small print sizes of up to ~5″ × 7″.
Benefits include:
- Faster scanning
- Smaller file sizes
- Clean grain and color
At 2000 DPI, a 35mm slide roughly produces an 8-megapixel equivalent image with good detail. This setting is often chosen for large collections where time and storage matter.
#2 3000 DPI for Balanced Detail and Versatility
This DPI setting is best for:
- Balanced detail
- Prints up to ~11″ × 14″
- Archival quality without massive files
Benefits include:
- Sharp scans with more detail than 2000 DPI.
- Manageable file size for editing and sharing.
#3 4000 DPI for Maximum Capture for Large Prints and Archives
This DPI setting is best for:
- Professional archival
- Prints up to ~16″ × 20″
- Future-proofing digital masters
Benefits include:
- The highest useful resolution from 35mm film.
- Great flexibility for cropping and editing.
4000 DPI produces roughly a 20+-megapixel image, ideal for high-end archival work or large format prints. Keep in mind that file sizes grow quickly in this setting.
How Professional Slide Scanners Extract Detail
Professional scanning services use dedicated film scanners with:
- True optical resolution
- High-quality lenses and sensors
- Dust and scratch removal technologies like Digital ICE
- Color correction and exposure optimization
Digital ICE detects imperfections and corrects them, improves color accuracy, and reduces visible grain when used carefully. This results in scans that better reflect the original slide.
Practical Slide Scanning Workflow
Getting consistent, high-quality scans isn’t only about DPI. A strong workflow helps too:
- Clean the Slides: Use compressed air or an anti-static brush to remove dust.
- Organize and Label: Batch slides by carousel, magazine, or sleeve.
- Choose DPI Based on Goal: Decide whether you prioritize speed, detail, or print size.
- Scan with True Optical Resolution: Avoid exceeding the scanner’s optical limits.
- Review and Store: Inspect images, then back up to multiple drives or cloud storage.
Always scan at the highest DPI your use case justifies, and you can downscale later, but you can’t recover details you never captured.
Closing Thoughts
Choosing the right DPI for scanning 35mm slides is about balancing your quality goals, storage capacity, and workflow efficiency:
- 2000 DPI — Great for everyday needs and quick digitization.
- 3000 DPI — Balanced detail and editing flexibility.
- 4000 DPI — Best for archival masters and large prints.
By understanding what each DPI level captures and aligning it with your goals, you ensure that your precious slides become digital files that are both high quality and practical.
For those interested in understanding more about different types of films and their scanning, you might also find Understanding Lingual Braces and Their Benefits insightful.